
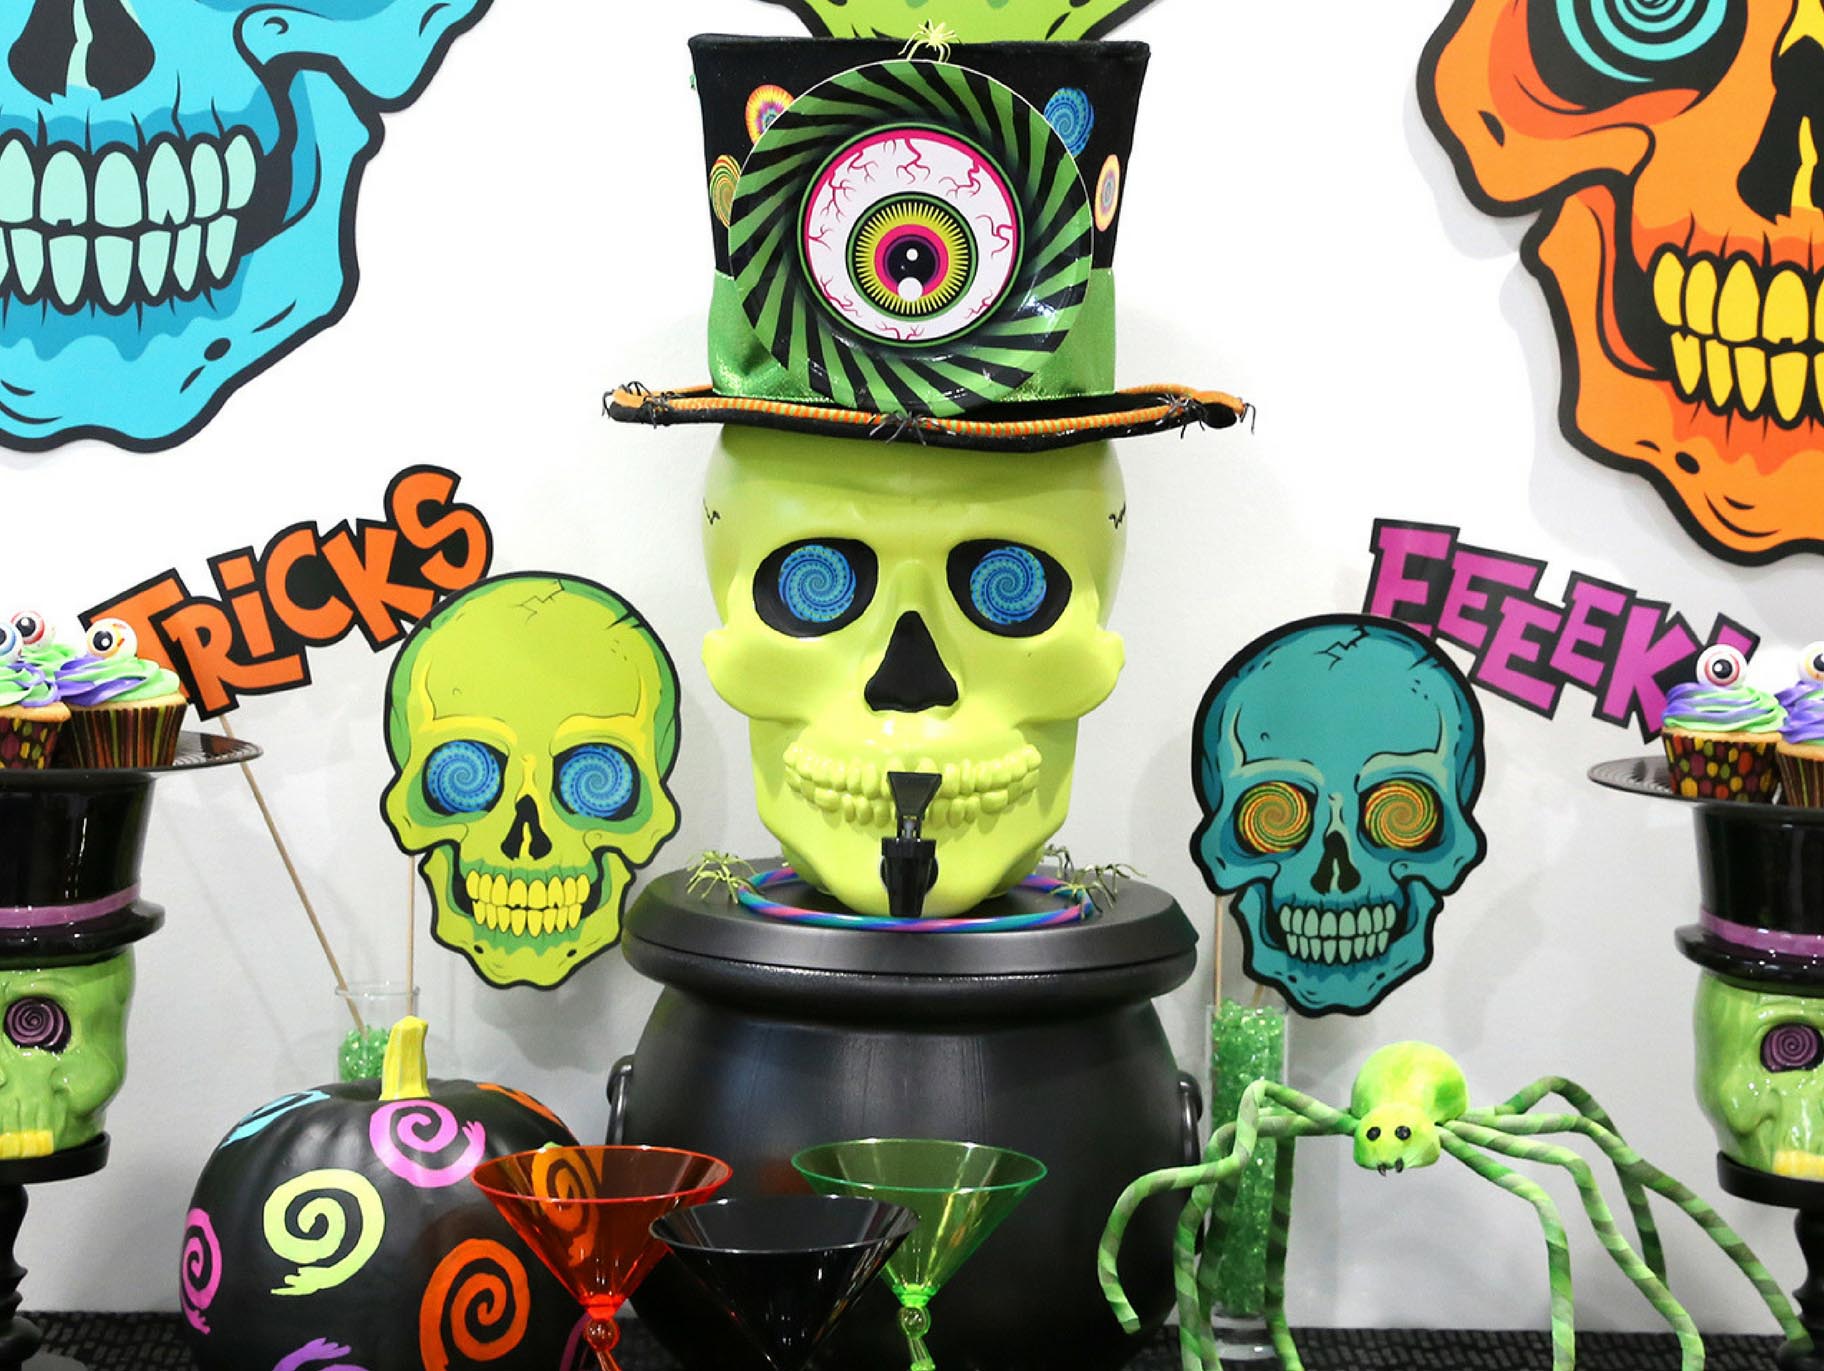
Alright, so let me tell you about this skull beverage dispenser I put together. It wasn’t some grand plan, just one of those ideas that pops into your head, you know? I had this pretty decent-looking hollow plastic skull lying around from some old Halloween decorations, and I thought, “Hey, that could be pretty cool for parties.”
Getting Started
First thing, I gave that skull a good cleaning. Even though it was just for decoration before, if it’s gonna hold drinks, it’s gotta be spotless. Soap, water, the whole nine yards. I made sure it was completely dry inside and out before I even thought about touching it with tools.
The main challenge, obviously, was figuring out the tap. I didn’t want anything too fancy or expensive. I rummaged through my shed and actually found a small, simple spigot – the kind you might see on a water cooler jug. Perfect! Or so I hoped.
The “Surgery” Part
Now, drilling into plastic can be a bit iffy. You go too fast, it cracks. Too slow, it melts. I picked a drill bit that was just a tiny bit smaller than the threaded part of the spigot. I decided to drill the hole kind of in the mouth area, or just below, so it looked like the drink was, well, coming out of the skull in a fun way. I went slow and steady, and thankfully, the plastic was cooperative. No major cracks, just a clean hole. Phew!
Fitting the spigot was the next hurdle. I threaded it in, and it was a bit loose. Leaks are the enemy of any beverage dispenser, right? So, I got myself some food-grade silicone sealant. I put a good amount around the threading and the base of the spigot where it would meet the skull. Then I tightened it up from the inside – reaching into a skull is a bit weird, let me tell you – using the nut that came with the spigot. I let that sealant cure for a full day, just to be safe. Didn’t want any nasty surprises later.
Testing and Filling
Once the sealant was dry, it was time for the water test. I filled the skull up with water, held my breath, and… no leaks! Success! The tap worked smoothly too. It was a pretty good feeling, not gonna lie.
For the actual filling, since the skull I used had a decent-sized opening at the top (where the spine would connect, I guess), it was easy enough to pour the beverage in using a funnel. I made sure not to fill it too high, just below the opening.
- Cleaned the skull thoroughly.
- Found a suitable small spigot.
- Carefully drilled the hole for the spigot.
- Sealed the spigot with food-grade silicone.
- Let it cure properly.
- Tested for leaks – and it worked!
And that was pretty much it! The first time I used it for a gathering, it was a total hit. People got a kick out of it. It’s not the most sophisticated thing, but it’s fun, and it was a cool little project to see through from a random idea to something people actually used. Just a bit of patience and making sure things are sealed up tight is key. Definitely a conversation starter!


