So, I’ve been meaning to sort out a little spot next to my favorite armchair for ages. You know, just a place to pop my coffee or a glass of water without having to reach for the main coffee table, which always feels like a mile away when you’re settled in. Store-bought ones are either ridiculously expensive or just don’t quite fit the vibe I’m going for. So, I figured, why not just make one myself? A beverage side table, that’s the goal.
Figuring Out the Plan and Getting the Bits
I started by just thinking about what I actually needed. Something small, sturdy enough for a few drinks and maybe a book. Wood was the obvious choice for me; it just feels a bit cozier, you know? I actually had a few leftover planks from another project gathering dust in the garage, which was a nice bonus. Saved me a few quid right there.
Apart from the wood, I knew I’d need a few other things. I made a quick list:
- Screws (various sizes, just in case)
- Wood glue (can’t have enough of this stuff)
- Sandpaper (the bane of my existence, but necessary)
- Some kind of wood finish – stain or paint, wasn’t sure yet.
So, I rummaged through my workshop – which is a fancy word for a messy corner of the garage – and found most of what I needed. Only had to pop out for a specific type of screw I was short on.
Getting My Hands Dirty: The Actual Build
Alright, so first up was measuring and cutting the wood. I’m not gonna lie, my measuring skills are sometimes a bit… optimistic. I definitely measured twice, cut once, and still managed to get one piece a tiny bit shorter than I wanted. But hey, that’s DIY for you, right? A little bit of character. I just adjusted the plan a tiny bit on the fly. No biggie. The saw made a right mess, sawdust everywhere, as usual.
Then came the sanding. Ugh, sanding. It’s gotta be done if you don’t want splinters every time you touch the thing, but man, it’s tedious. I put on some music and just got through it. Sanded all the pieces nice and smooth. My arms were definitely feeling it afterwards.
Assembly time! This is the part where it actually starts to look like something. I laid out all my pieces. I decided on a simple boxy design for the top and some straightforward legs. Drilled pilot holes, slapped on some wood glue, and then drove in the screws. It was a bit fiddly getting everything square, and I might have had to unscrew and re-screw a couple of joints. It’s always a bit of a wrestling match with wood sometimes. But slowly, it started to take shape from a pile of wood into something resembling a small table.
The Final Flourish
Once it was all screwed and glued together and felt solid, it was time for the finish. I thought about painting it, but in the end, I decided to go with a dark wood stain. I felt it would look a bit classier and show off the wood grain a bit. Applied a couple of coats, letting it dry properly in between. The smell of stain isn’t my favorite, but the result is usually worth it.
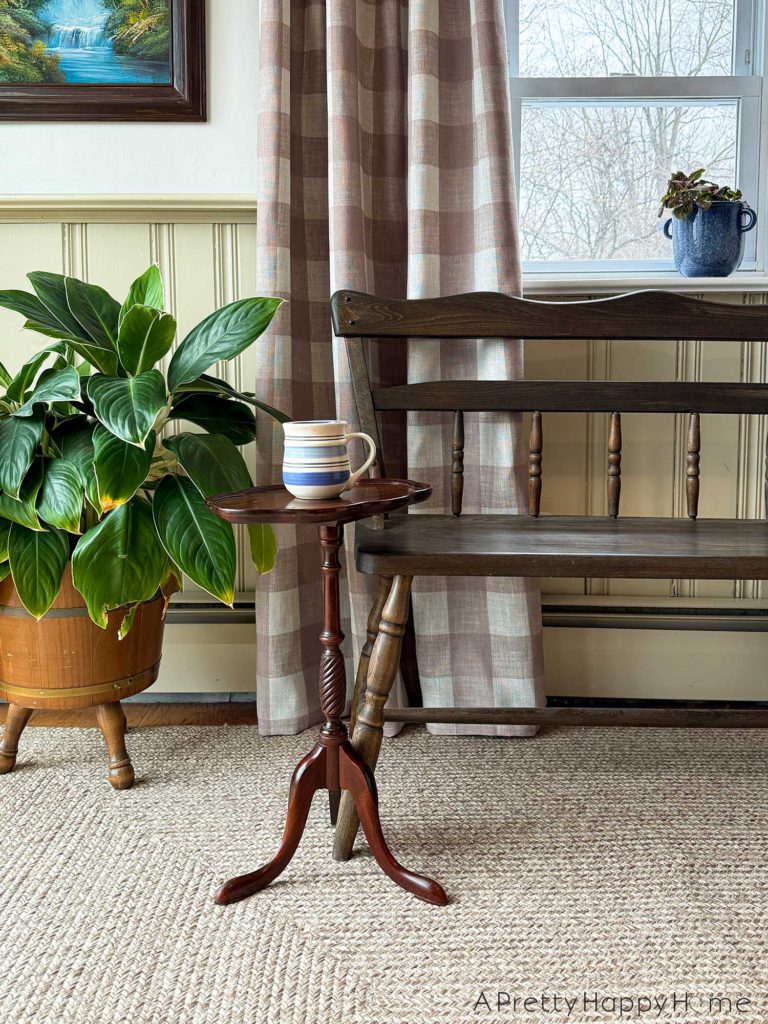
And Voila! My Very Own Drink Holder
So, after all that, I’ve got my very own beverage side table! It’s not perfect, there are a few little imperfections if you look really close, but I made it, and that’s what counts. It’s now sitting proudly next to my armchair, and it’s just the right height. Perfect for my morning cuppa or an evening drink. It’s not huge, so it fits nicely in the small space I had for it. It’s pretty handy, actually, just a convenient little surface for whatever I need close by. Way better than balancing my mug on a pile of books like I used to!
Honestly, pretty chuffed with how it turned out. Might even make another one for the other side of the sofa if I can find some more spare wood.


