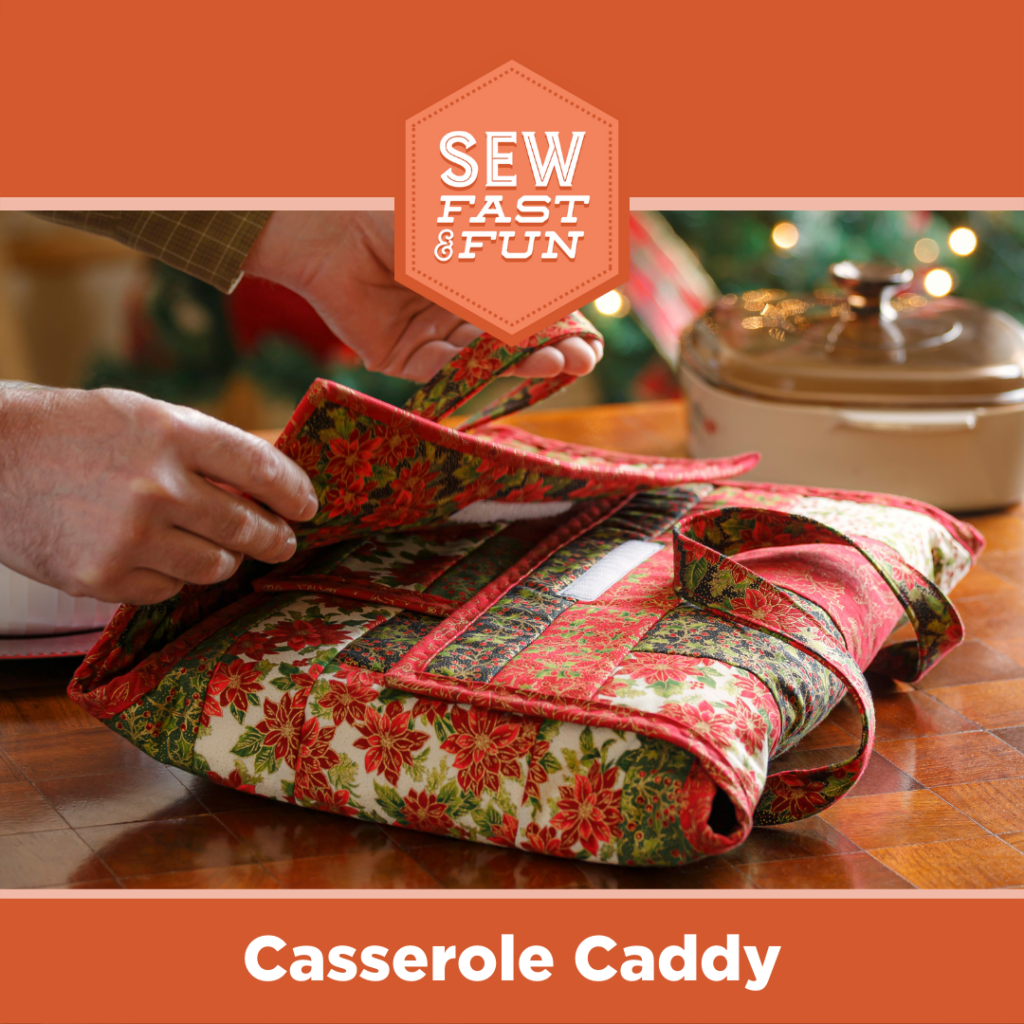
Okay friends, so I got this wild idea last week – my old oven mitts were basically shreds, and carrying hot casserole dishes? Forget it. So I thought, hey, why not sew my own proper casserole holder? Grabbed some fabric scraps lying around, cleared off the kitchen table, and dove in.

The Hunt for the Right Pattern
First, I hit up the internet searching for a simple sewing pattern. Searched stuff like “easy casserole holder sewing” and “free pot holder pattern”. Found one that looked promising – a two-layer quilted thing with a handle loop. Honestly, way too many fancy ones out there needed like ten different fabrics. Nope. I wanted simple, functional, and fast.
Gathering My Stuff
Rummaged through my fabric stash like a squirrel hunting nuts. Pulled out:
- Some sturdy cotton fabric – leftovers from apron project last year (ugly pattern, perfect for this!)
- Insulating batting for the heat stuff (had some scraps leftover from potholders)
- Plain cotton for the lining (an old sheet I cut up, shhh)
- Basic sewing thread, scissors, pins, the ruler
Seriously, didn’t buy a single thing. Felt good using scraps.
Let’s Get Cutting!
Found the pattern template online and printed it. It was just two big rectangles – easy peasy. Traced them onto my outer fabric, the lining fabric, and the batting. Cut out two of each fabric and two of batting. Also cut a long strip for the handle loop. Everything felt too big at first, but hey, gotta trust the process.
Sewing It Together
Alright, here’s the step-by-step mess I made:
- Pinned the outer fabric right sides together, sewed three sides. Left the top open like a pocket. Flipped it right side out. Smooth.
- Did the EXACT same thing with the lining fabric. Now had two pockets.
- Then the batting – slipped one piece inside the outer fabric pocket. Pushed it all the way down to the seam. Fiddly, but got it flat.
- Slid the lining pocket inside the outer pocket. Raw edges lined up at the top? Check. Pinned them together like a sandwich.
Okay, this part sucked at first. Tried sewing all the way around – big mistake. Ended up catching only one layer. Had to unpick stitches (hate that!). Second try? Sewed slowly around that top edge, leaving just a small gap to flip it later. Better.
Flipped the whole thing right side out through the gap. Poked the corners hard with a chopstick to get them pointy. Sewed the gap shut. Tried pressing it flat with the iron – the batting puffed up a bit but looked quilted.
Adding the Handle Loop
Almost forgot the loop! Took that long fabric strip, folded the raw edges in, then folded it in half lengthwise and sewed down the middle. Made a tube. Fed it through the gap near the side. Sewed each end down really well near the top corners – did a little box pattern with the needle for extra strength. Didn’t want it ripping off when carrying a heavy dish.

Done… Finally!
Held it up. Honestly? Not perfect. The stitching wobbles in spots where I rushed, and the ugly outer fabric made me laugh. But I grabbed a hot dish straight from the oven. Held it snug. Didn’t feel any heat on my hands. Victory! Total time? Maybe two hours with mistakes. Next one will take half that.
Moral? Don’t overthink it. Find a simple pattern, use whatever fabric you have, and just start sewing. Even a wonky holder beats burned hands. Try it!


