Okay, so I had this idea the other day. I’ve been making my usual white rye sourdough for ages, and it’s good, don’t get me wrong. But I had this bag of semolina flour staring at me from the pantry. You know how it is. You buy something for a specific recipe, then it just sits there. I thought, why not try adding some to my sourdough? Could be interesting. Maybe give it a bit of a different texture, a nice color. So, I decided to give it a whirl.
Getting Started with the Dough
First things first, I got my white rye starter out. It was looking pretty happy and bubbly, so that was a good sign. I usually feed it the night before I plan to bake. For the flour mix, my standard recipe is mostly strong white bread flour with a decent portion of white rye – gives it that nice tang but keeps it light enough. This time, I decided to swap out about, oh, maybe 20% of the white bread flour for the semolina. Didn’t want to go too crazy on the first try.
So, I measured everything out: my lively starter, the white rye flour, the bread flour, and then the semolina. Plus water and salt, of course. I started mixing it all together. The dough felt a little different right away. Semolina, I’ve noticed from making pasta, can be quite thirsty. It seemed to soak up the water pretty quick. I had to add a little extra splash of water than I normally would, just going by feel until the dough felt right – not too sticky, not too dry. You get a knack for it after a while.
The Process: Bulk Ferment and Shaping
Once it was mixed, I did my usual series of folds. You know, stretch and fold every half hour or so for the first couple of hours. This helps build up the strength in the dough. The semolina seemed to make the dough feel a bit more robust, maybe a tiny bit gritty but in a pleasant, textural way. It wasn’t difficult to work with at all.
Then came the bulk fermentation. I just left it on the counter, covered, to do its thing. I kept an eye on it. It seemed to rise pretty much as usual, maybe a tad slower, but it’s hard to tell sometimes. Could have just been me being impatient, wanting to see how it turned out! Once it looked puffy and had increased in volume nicely, I knew it was ready for shaping.
Shaping went smoothly. The dough had a good feel to it. It wasn’t overly sticky, and it held its shape well when I formed it into a boule. I popped it into my trusty baneton, dusted with rice flour, and then into the fridge for a cold proof overnight. I find this really helps with the flavor development, and it makes scoring easier the next day.
Baking Day and The Results!
The next morning, I preheated my oven with my Dutch oven inside. Got it nice and screaming hot. Scored the top of the chilled dough – the semolina didn’t seem to change how it scored, which was good. Then, carefully, I transferred it into the hot Dutch oven, put the lid on, and into the oven it went.
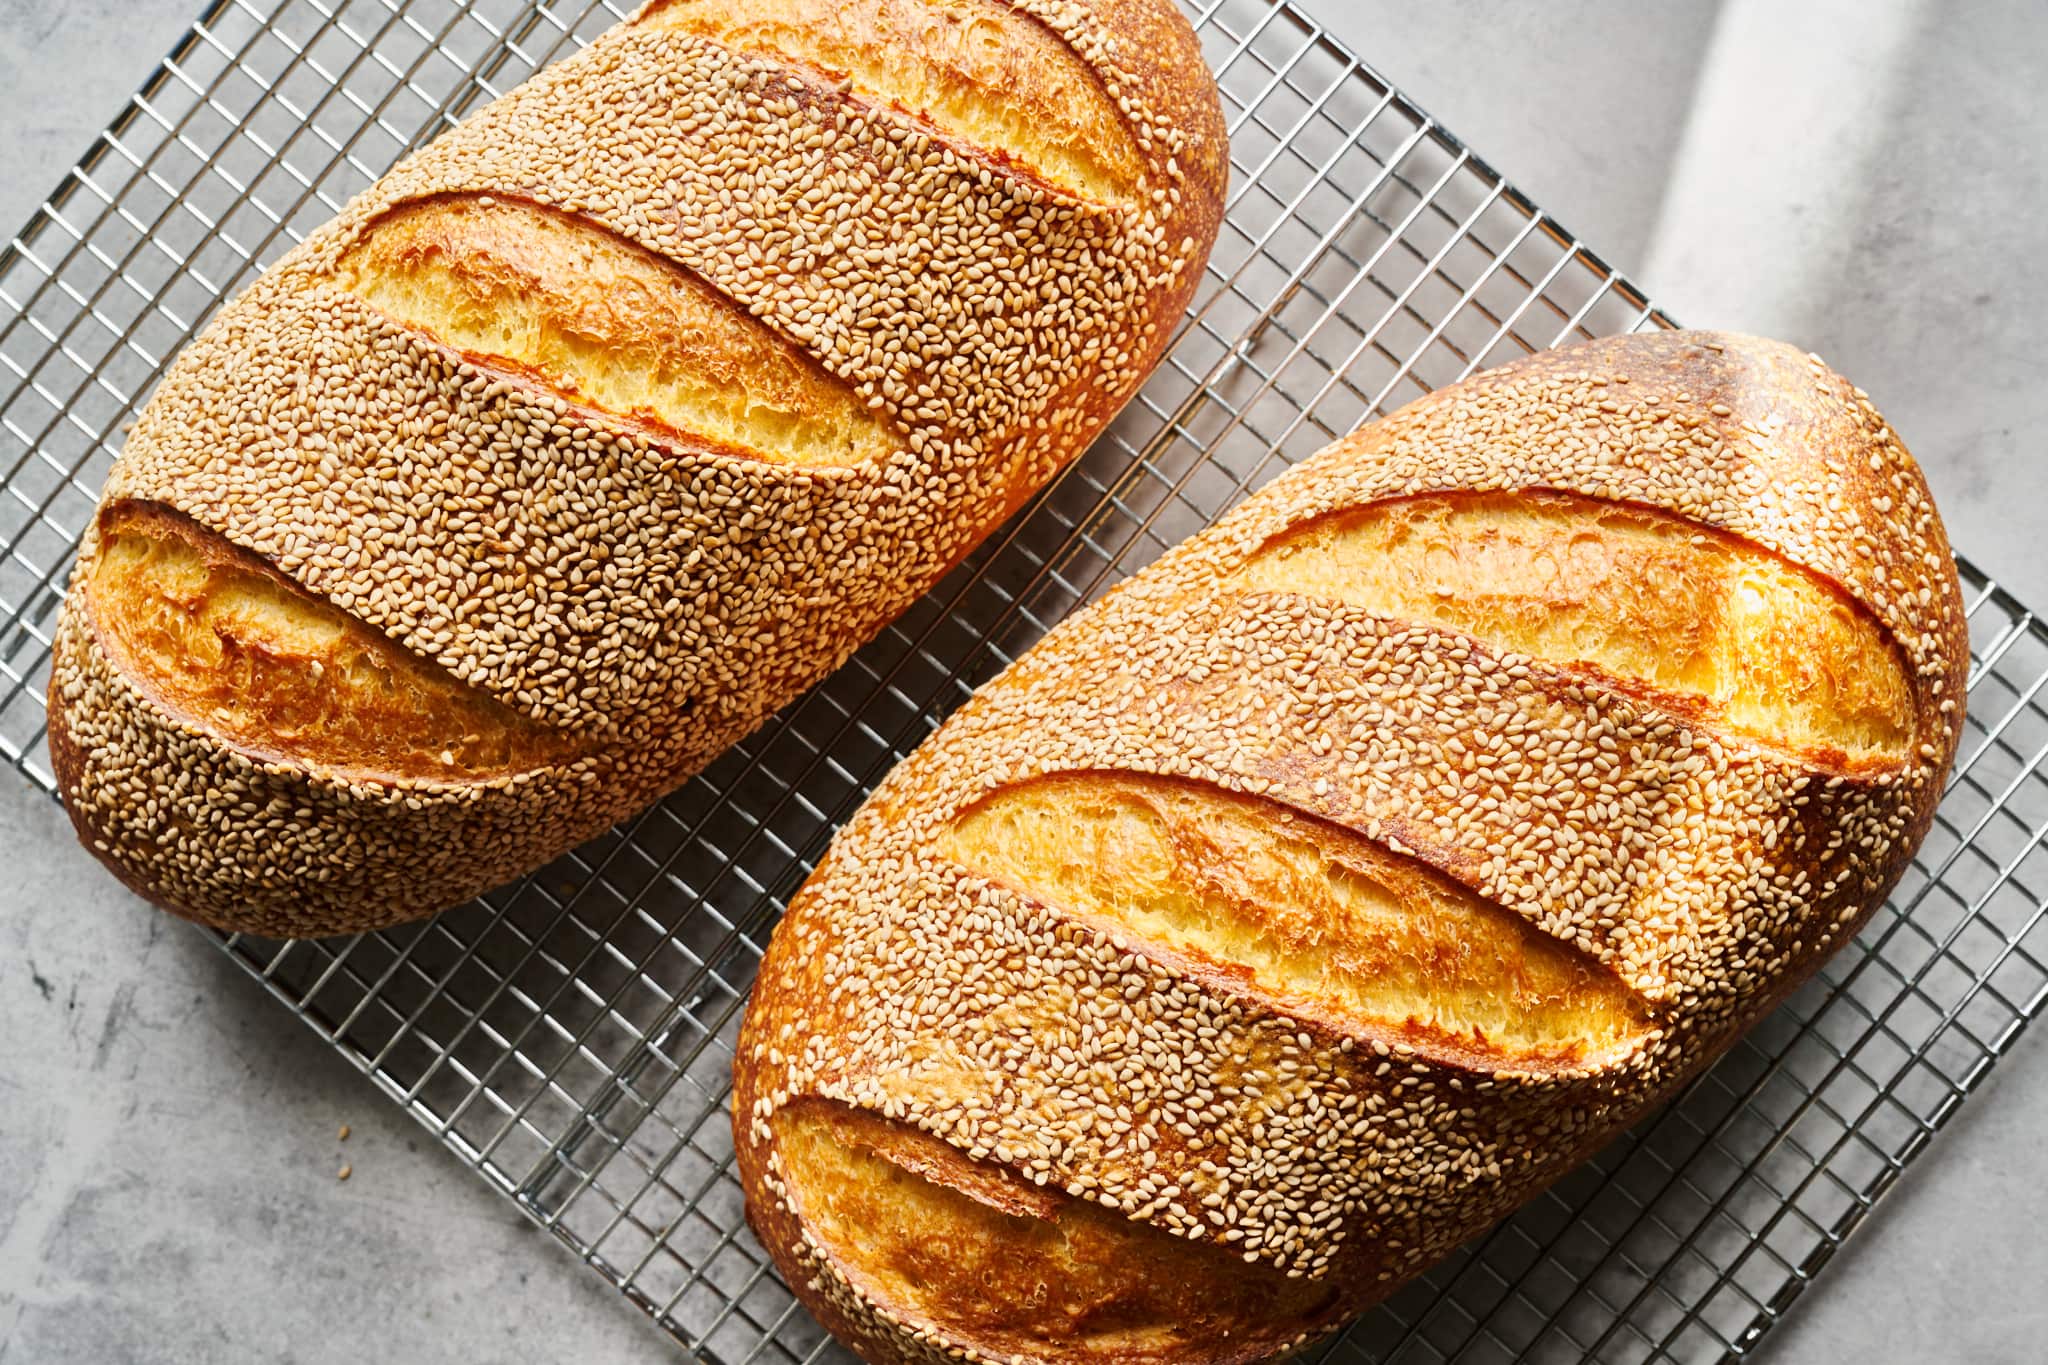
The smell while it was baking… oh, it was good! A little different from my usual bake. A bit nuttier, maybe? After the first 20 minutes with the lid on, I took it off to let the crust brown up. It got a really lovely golden color, perhaps a bit more yellow-toned than usual, which I figured was the semolina doing its thing.
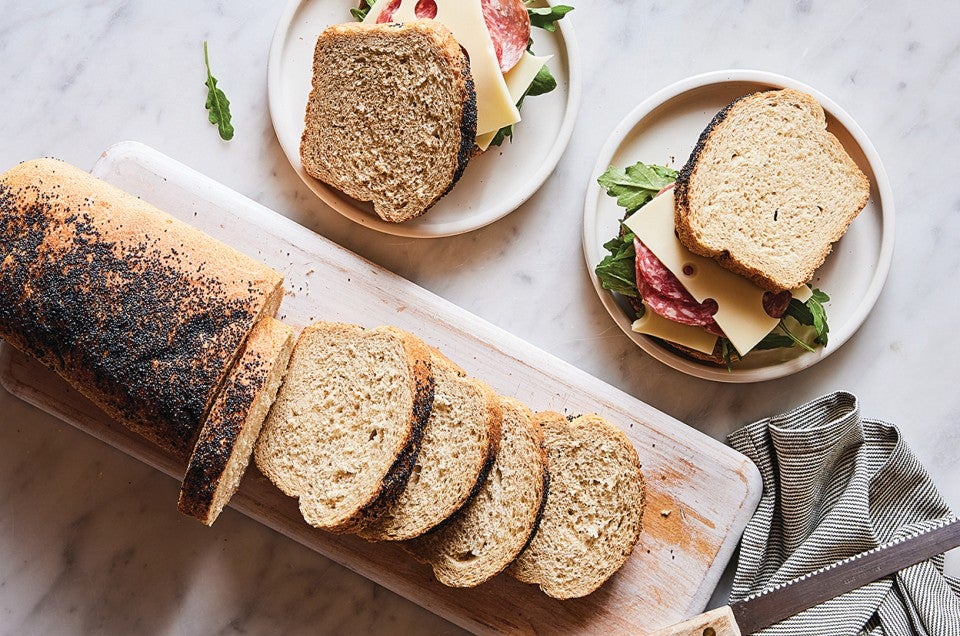
And the moment of truth – cutting into it after it had cooled down. The crust was fantastic. Really crispy, with a nice chew. Inside, the crumb had a beautiful, creamy, pale yellow hue. It wasn’t a super open crumb, but it was nice and soft, not dense at all. Just what I like for sandwiches.
- The color was definitely more golden.
- The texture of the crumb felt a bit more substantial, a little chewier, which I really liked.
- Flavor-wise, there was a subtle, almost sweet nuttiness that wasn’t there in my plain white rye. It complemented the mild rye tang really well.
So, would I do it again? Absolutely. I was really pleased with how it turned out. The semolina added a lovely dimension to the bread without overpowering the character of the white rye sourdough I enjoy. Next time, I might even try upping the semolina percentage a little bit more, maybe go for 25% or 30%, just to see how that changes things. It’s all about experimenting, right? That’s the fun of baking. Definitely a successful little kitchen adventure!

