
Okay, here’s my take on documenting the dual zone beverage fridge project, blog-style.
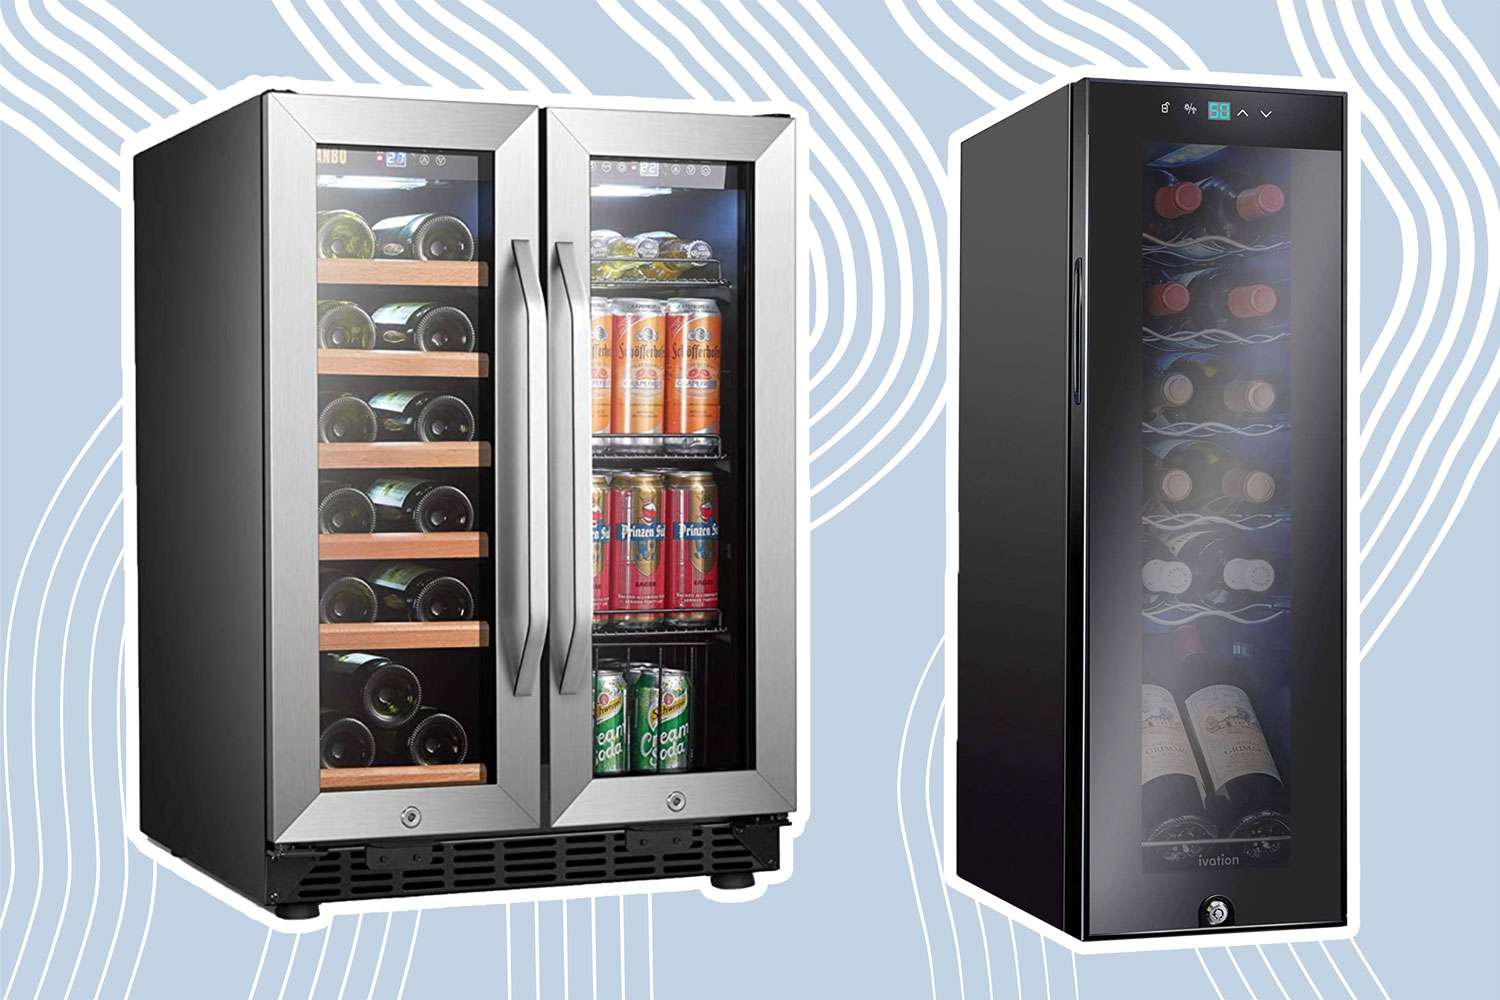
Alright, folks, gather ’round! Let me tell you about this awesome project I just wrapped up: a dual zone beverage fridge! Yeah, you heard right. Two zones, different temps, maximum refreshment. Let’s dive in.
So, it all started when I was staring blankly at my sad, single-zone mini-fridge. I was thinking, “Man, wouldn’t it be sweet to have some beers chilled just right, while keeping the sodas a bit warmer so they don’t explode in your face?” The dream was born.
Phase 1: The Hunt for the Fridge
- First, I hit up Craigslist, Facebook Marketplace, the whole shebang. I was looking for two identical mini-fridges. Why identical? Aesthetics, my friends, aesthetics! I didn’t want some Frankensteinian monstrosity in my kitchen.
- I spent a week or so just browsing, haggling (tried to, anyway – people are stubborn!), and finally snagged two used mini-fridges for a steal. They were the same make and model, and even the same color – score!
- Next up was giving them a good scrub down. Seriously, these things were nasty. Vinegar, baking soda, elbow grease – the whole nine yards. Made ’em sparkle (relatively speaking).
Phase 2: The Temperature Controller Deep Dive
- The heart of this project is the temperature control. I needed something that could independently manage the temperature of each fridge. I went down a rabbit hole of Arduino projects, Raspberry Pi setups, and all sorts of DIY solutions. Honestly, it was a bit overwhelming.
- Eventually, I stumbled upon these pre-made temperature controllers on Amazon. Simple, relatively cheap, and seemed to have decent reviews. I grabbed two.
- I also picked up some temperature sensors that could be easily placed inside the fridges. The controllers came with sensors, but I wanted something a bit more robust and with longer wires.
Phase 3: Wiring and Plumbing…Kind Of
- This is where things got a little hairy. I’m not an electrician, so I proceeded with extreme caution. Lots of YouTube tutorials and double-checking everything.
- Basically, you’re intercepting the power to the fridge’s compressor and routing it through the temperature controller. The controller then turns the compressor on or off based on the temperature sensor readings.
- I carefully cut the power cords of the fridges (unplugged first, obviously!), wired them into the controllers, and then wired the controllers to the wall outlet. Used plenty of wire connectors and electrical tape to ensure everything was safe and secure.
- Mounted the temperature controllers on the outside of the fridges using some heavy-duty double-sided tape. Not the prettiest solution, but it worked.
- Ran the temperature sensor wires inside the fridges, making sure they weren’t near any moving parts.
Phase 4: Calibration and Fine-Tuning
- Once everything was wired up, it was time to power on and see if I’d blown anything up. Thankfully, no sparks!
- I set the temperature controllers to different values – say, 38°F for one fridge (beer!) and 45°F for the other (soda!).
- Then came the waiting game. I monitored the temperatures with a separate thermometer inside each fridge. It took a few hours for the temperatures to stabilize.
- Had to tweak the temperature settings on the controllers a few times to get them dialed in exactly where I wanted them.
Phase 5: The Moment of Truth – BEVERAGES!
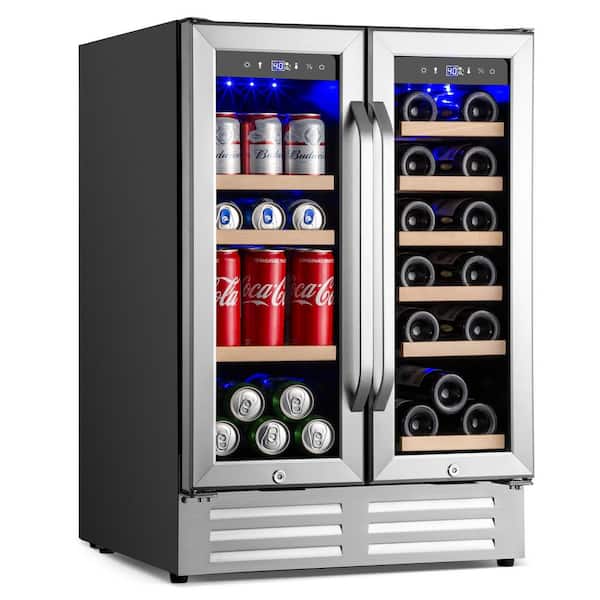
Finally, the big moment! I loaded up the fridges with beers, sodas, sparkling water – the works! And let me tell you, cracking open a perfectly chilled beer after all that work was pure bliss.
Lessons Learned
- Measure twice, cut once. Seriously. Especially when dealing with electricity.
- Don’t be afraid to ask for help. There are tons of online communities and forums where people are happy to share their knowledge.
- This project took longer than I expected. But it was totally worth it.
So there you have it! My dual zone beverage fridge. A bit of a project, but a huge upgrade to my chilling game. Now, if you’ll excuse me, I’m going to go grab a beer. Cheers!

