
Alright, buckle up folks, because I’m about to walk you through my latest weekend project: a fridge beverage dispenser. Sounds fancy, right? Well, it was definitely a learning experience, let me tell ya.

The Spark of an Idea
It all started with me being too lazy to actually open the fridge every time I wanted a soda. I thought, “There’s gotta be a better way!” And that’s when the idea of a dispenser hit me. Why not have a constant supply of chilled beverages right at my fingertips?
Planning and Gathering Supplies
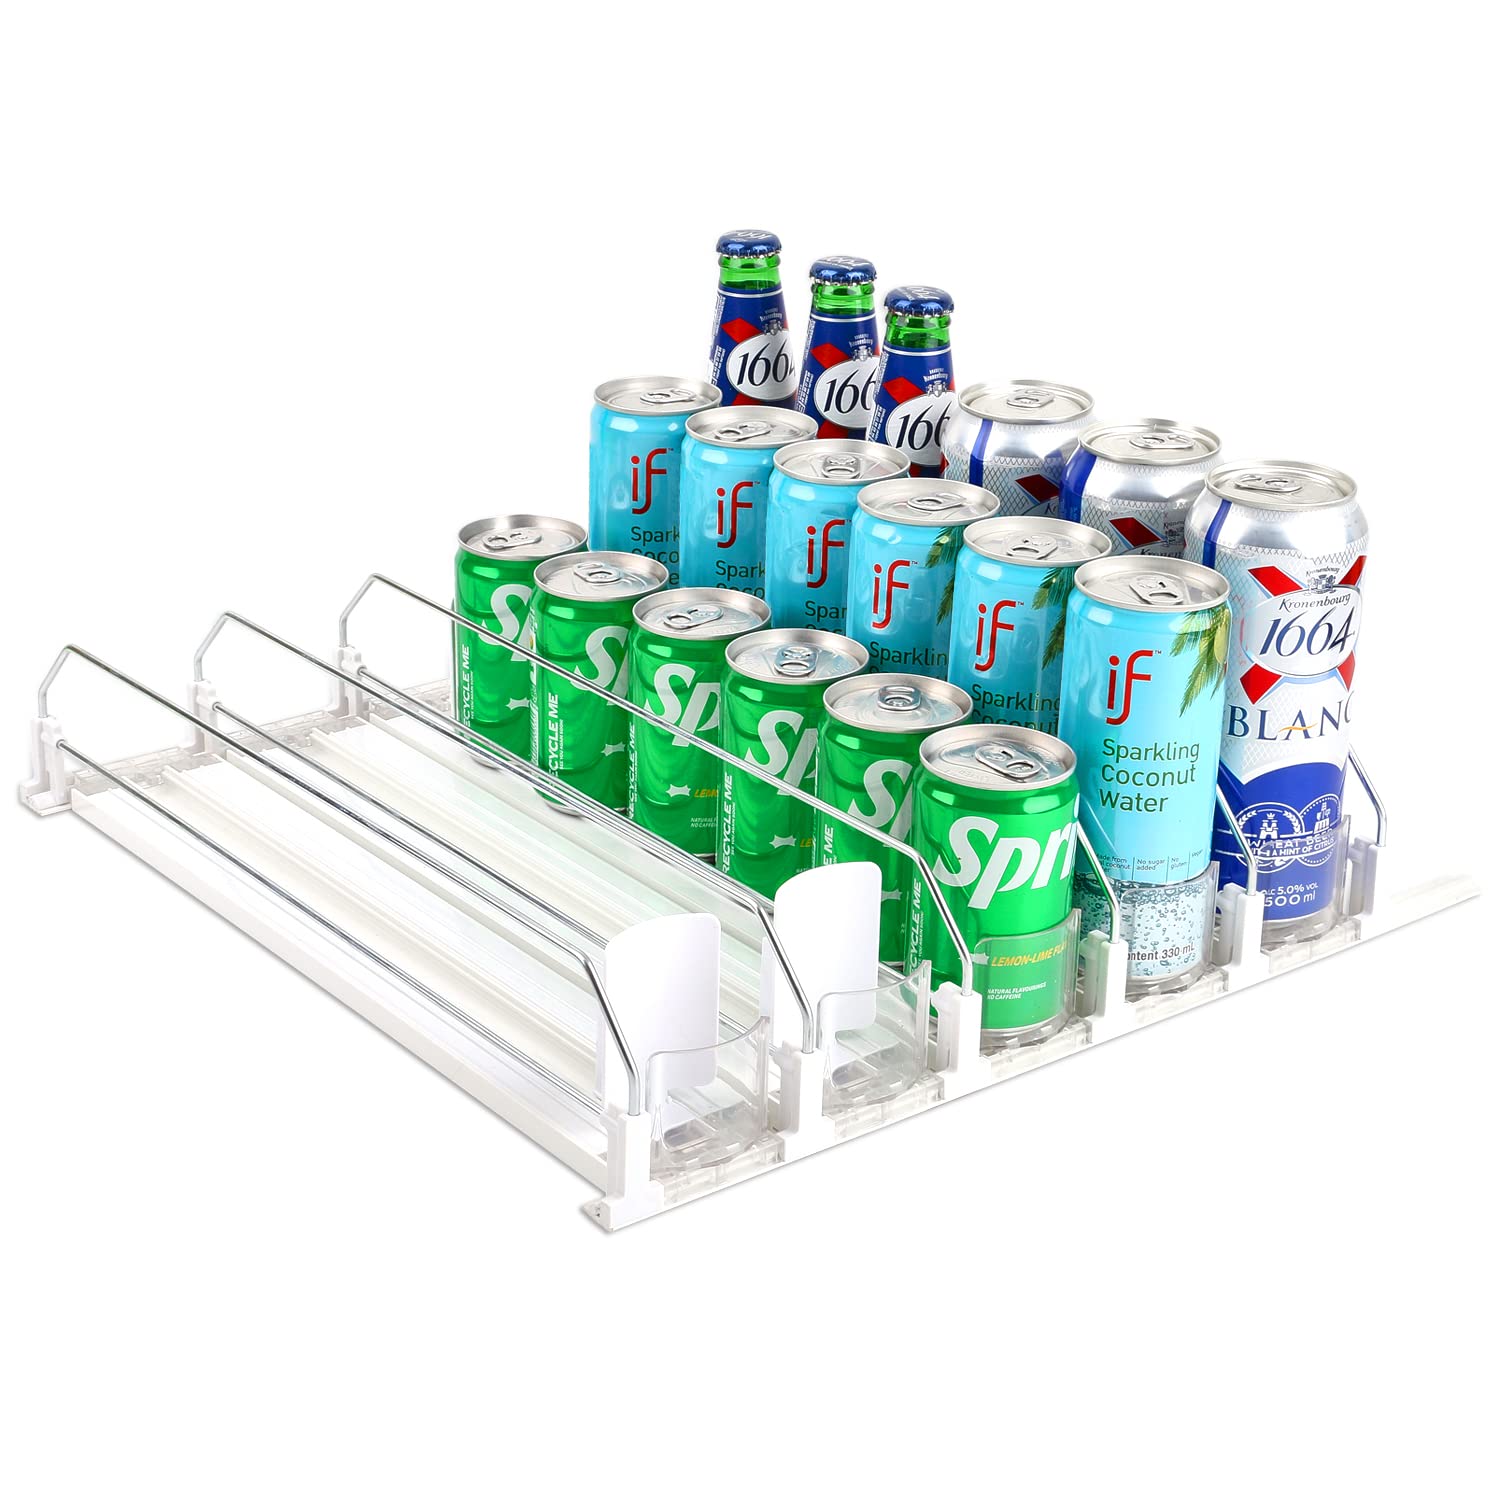
First, I started by sketching out my design. I envisioned a system where soda cans would be stacked in a tube, and dispensed one at a time with a simple push mechanism. Then came the fun part: raiding my local hardware store and online shops.
- I grabbed some clear acrylic tubing – this would be the main housing for the cans.
- A spring-loaded mechanism, I found some online that looked promising.
- Some scrap wood for the base and support structure.
- Assorted screws, bolts, and adhesives – the usual suspects.
The Build Begins: Challenges and Adjustments
Alright, time to get my hands dirty. I started by cutting the acrylic tubing to the desired length. Turns out, cutting acrylic without it cracking is harder than it looks! After a few failed attempts and some choice words, I finally got it right. Sanding the edges was also crucial to avoid any sharp points.
Next, I built the base out of the scrap wood. I wanted it to be sturdy, so I reinforced the joints with wood glue and screws. This also involved a bit of measuring and precise cutting – which, to be honest, is not my strongest suit. But hey, that’s what makes it fun, right?
Then came the tricky part: integrating the spring-loaded mechanism. I had to modify it slightly to fit snugly inside the acrylic tube. This involved some creative use of pliers and a bit of MacGyver-esque improvisation. After a few hours of tinkering, I finally got it working smoothly. The satisfaction of seeing the first can pop out was immense!
Fine-Tuning and Adding Finishing Touches
Of course, it wasn’t perfect right away. The cans would sometimes get stuck, or the dispensing mechanism would jam. I spent a good chunk of the afternoon troubleshooting and making adjustments. I realized that the angle of the tube was critical, so I added some shims to tilt it slightly forward. This seemed to solve the problem.
To make it look a bit more presentable, I added some trim to the base and painted it a nice, neutral color. I also attached a small drip tray to catch any stray drips (because, let’s be real, there will be drips).
The Grand Reveal (and a Cold One)
Finally, the moment of truth! I loaded up the dispenser with a stack of my favorite sodas, gave it a test run, and… it worked! I grabbed a cold one, kicked back, and admired my creation. It wasn’t pretty, but it was functional – and that’s all that mattered.
Lessons Learned
This project was a blast, and I learned a lot along the way. Here are a few key takeaways:
- Planning is key. A little bit of sketching and research goes a long way.
- Don’t be afraid to experiment. Sometimes, you just have to try things out and see what works.
- Patience is a virtue. Things rarely go according to plan, so be prepared to troubleshoot and make adjustments.
So there you have it: my fridge beverage dispenser. It’s not perfect, but it’s mine. And more importantly, it provides me with a constant supply of cold drinks. Now, if you’ll excuse me, I’m gonna go grab another soda.


