Alright, let me tell you about this Snoopy cookie jar project I just finished up. It started pretty simply: I needed a new cookie jar, and I’ve always loved Snoopy. Seemed like a fun little thing to try making myself instead of just buying one.

Finding the Right Stuff
First things first, I had to get a plain jar. I looked around a bit online, but then I remembered an old ceramic canister I had tucked away in the back of a cupboard. It was just a basic white cylinder shape, perfect! Saved me a few bucks too. Then I needed paints. I made sure to grab some ceramic paints – the kind you can bake in the oven to make them permanent and food-safe, at least on the outside. I picked up:
- Black paint (for Snoopy’s details)
- Red paint (for his collar, maybe a little heart?)
- A fine-tipped brush for outlines
- A slightly bigger brush for filling in
Didn’t need much else. Simple is usually better for these things.
Getting Down to It
Okay, so I cleaned the jar really well. You gotta make sure there’s no dust or grease, or the paint won’t stick right. I let it dry completely. Then came the slightly nerve-wracking part: drawing Snoopy on. I’m no artist, mind you! I found a simple picture of Snoopy lying on his back online, printed it out, and sort of lightly sketched the basic shape onto the jar with a pencil. It wasn’t perfect, but good enough to guide me.
Then I started painting. I took the fine brush and carefully did the black outlines first – his ears, nose, eye, that classic Snoopy smile, and the spot on his back. This took some concentration, trying to keep the lines steady. Had to wipe away a smudge or two with a damp cloth before it dried.
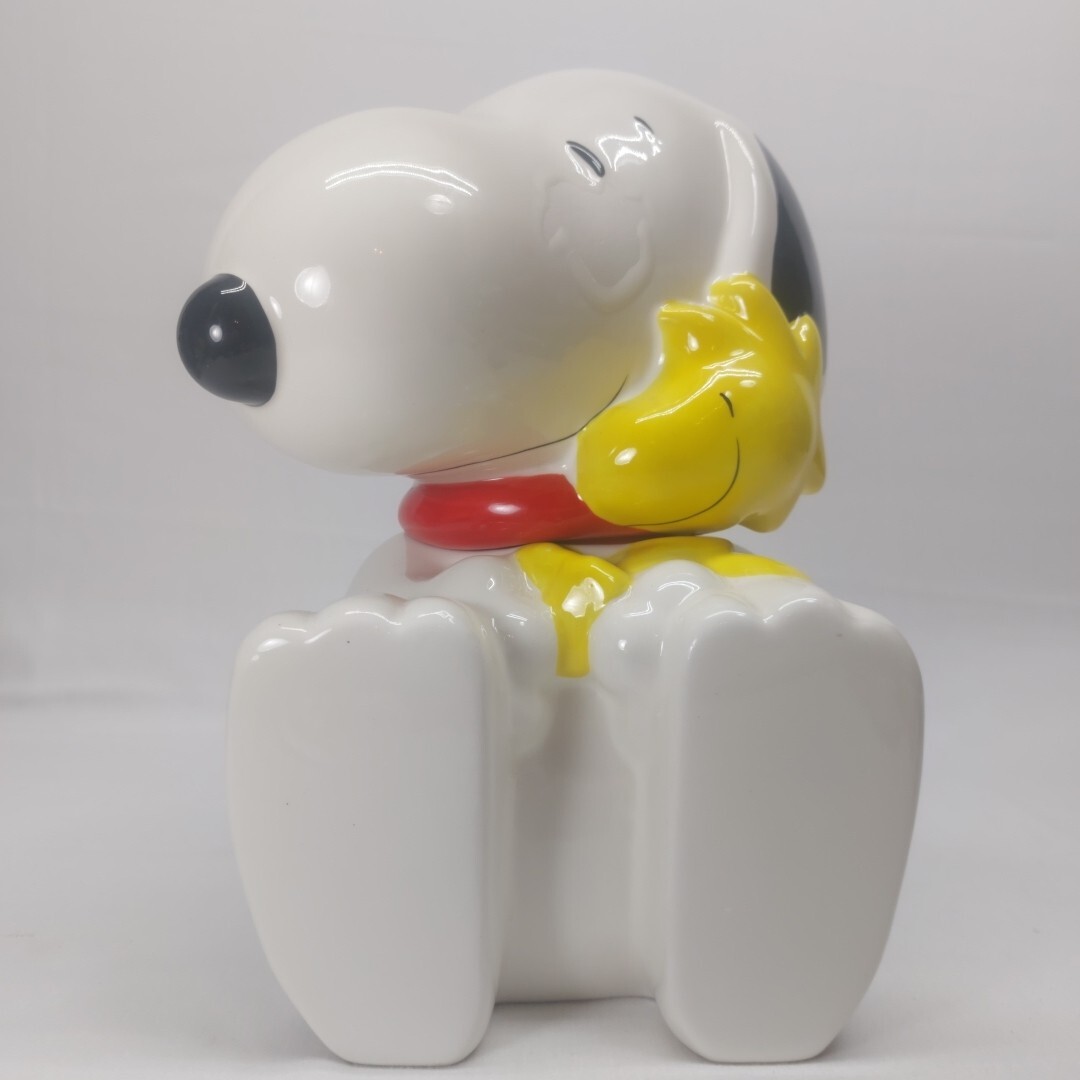
After the outline was done and dry (didn’t take too long), I added the little red collar. Just a simple band of red. I thought about adding Woodstock, but decided to keep it simple this time. Maybe on the next project!
Finishing Up
Once all the paint was dry to the touch, I checked the paint instructions. Mine said to bake it in the regular kitchen oven to set the paint. So, I popped the jar (without the lid, just the painted part) into a cold oven, set it to the temperature on the paint bottle, and let it heat up and bake for the recommended time. Then, turned the oven off and let the jar cool down completely inside the oven. This part is important, so it doesn’t crack from changing temperature too fast.
And that was pretty much it! I pulled it out once it was cool. The paint looked nice and glossy. Gave it a good wash just to be safe before putting any food in it.
Now, I’ve got my very own Snoopy cookie jar sitting on the counter. It makes me smile when I see it. Filled it up with some chocolate chip cookies almost immediately, of course. It’s not store-bought perfect, you can see it’s hand-painted, but I kinda like that about it. Felt good to make something useful like that.


