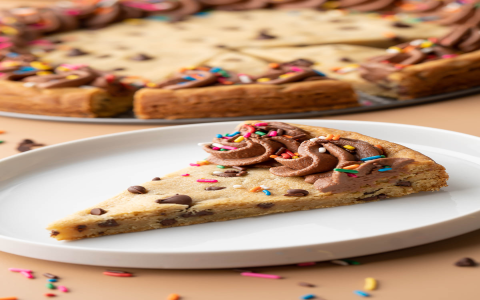
So, I’ve been meaning to share this for a bit. The other day, I got it in my head to try making one of those Cookie Monster cookie cakes. You’ve probably seen ’em around. Looked like a fun project, and well, who doesn’t love a giant cookie, right? So, I rolled up my sleeves and decided to document the whole messy, fun process.

Getting My Act Together
First things first, I had to gather all the bits and pieces. I dug out my go-to chocolate chip cookie recipe – the one that never fails me. Just knew I’d have to scale it up, a lot. I made sure I had enough flour, sugar, butter, eggs, vanilla, and of course, a mountain of chocolate chips. For the ‘Cookie Monster’ part, I needed blue food coloring, some white frosting (which I planned to dye), and those big candy eyes. And crucially, some smaller cookies for him to be munching on. That’s key, you know?
Whipping Up the Giant Cookie Base
Alright, so I got to work on the dough. I creamed the butter and sugars together until they were nice and fluffy. Then, in went the eggs, one at a time, followed by the vanilla. Mixed all that up good. In a separate bowl, I whisked together the flour, baking soda, and a pinch of salt. Then, slowly, I added the dry stuff to the wet stuff, mixing until it just came together. You don’t want to overmix it, that’s a rookie mistake. Finally, I folded in what felt like a ton of chocolate chips. Seriously, it was a hefty amount of dough.
Instead of making individual cookies, I grabbed my biggest round pizza pan – gave it a good greasing and a light flouring. Then I plopped that massive ball of dough right in the middle and started pressing it out. Took a bit of coaxing to get it to fill the pan evenly, but I got there. Into the oven it went. The waiting part is always the hardest, isn’t it? The whole kitchen started smelling incredible.
The Cooling Game and Frosting Prep
Once it was baked – golden brown and looking like a giant, glorious cookie – I carefully slid it onto a wire rack to cool. This step is super important. You try frosting a warm cookie cake, and you’re just asking for a melty, blue mess. So, patience was the name of the game. While it was cooling, I got started on the frosting. I just used a simple buttercream recipe. Made a big batch, then took a good portion of it and started adding the blue food coloring, drop by drop, until I got that classic Cookie Monster blue. It took more drops than I thought!
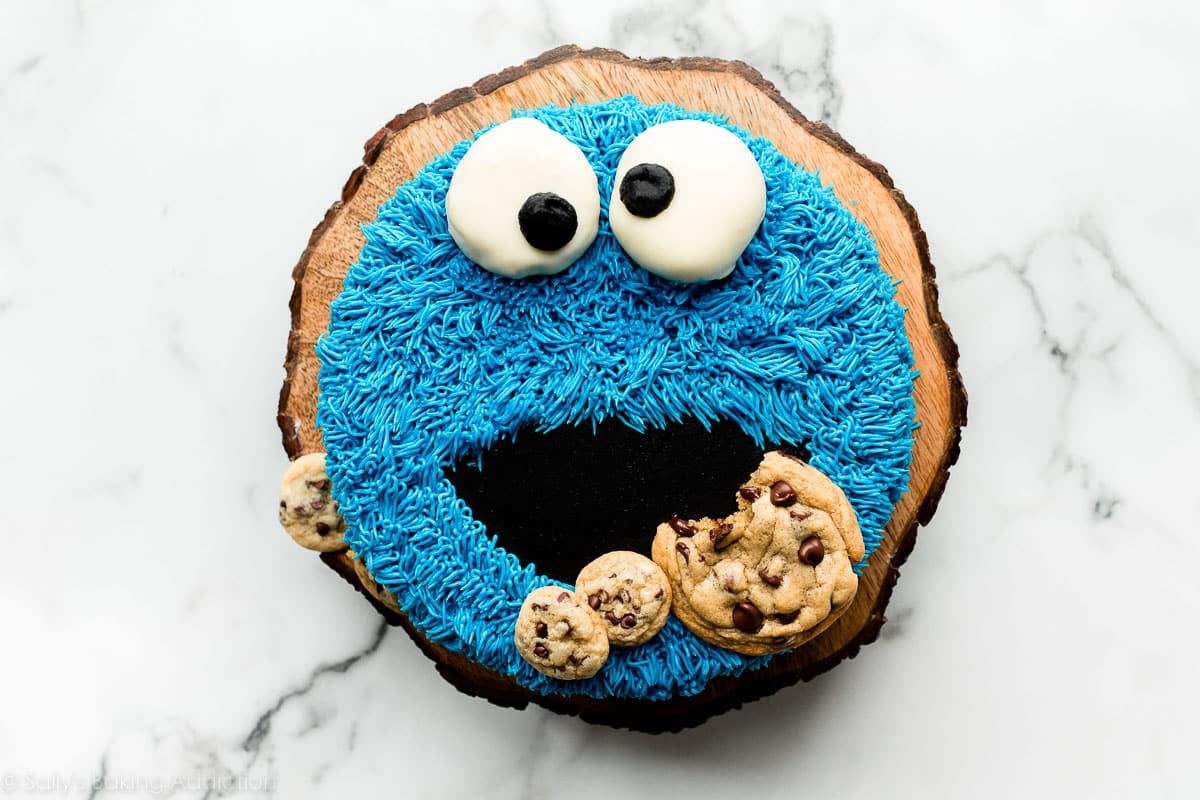
Bringing the Monster to Life!
Okay, cookie cake cooled? Check. Blue frosting ready? Check. It was assembly time! I slathered that blue frosting all over the top of the giant cookie. I wasn’t going for super smooth; Cookie Monster is a furry guy, so a bit of texture was perfect. I used a spatula to give it some rough, fur-like peaks. Then, the best part: I stuck on those big candy eyes. Suddenly, it started to look like him!
For the mouth, I just sort of carved out a little section from the frosting, or rather, I just left a gap where his mouth would be and then arranged a few of those smaller, store-bought chocolate chip cookies in there, like he was caught mid-chomp. It was looking pretty good, if I do say so myself!
The Big Reveal and Final Thoughts
And there it was. My very own Cookie Monster cookie cake. It was big, it was blue, and it was definitely a cookie lover’s dream. It wasn’t bakery-perfect, you know, a bit rustic, but that’s the charm of homemade stuff, I think. It was a huge hit, especially with, well, everyone who saw it. Super fun to make, and even more fun to eat. A good day in the kitchen, for sure. Definitely something I’d do again, maybe get even more creative with the fur texture next time!

